In this simple tutorial we show you how to weave a beautiful, rustic willow wreath with sticks from our Weeping Willow tree.
The resulting willow ring can be displayed as it is, used as a wreath base or even turned into a gorgeous willow flower crown.

What do you need to make a willow wreath?
All you need to make a willow wreath is a dozen freshly cut, slender willow whips and a pair of Secateurs. We’ve got weeping willow trees in our garden so we use them. Standard willow works just the same. If it is dried make sure you soak it first of the stems may split.

What else can I weave a natural wreath out of?
There are lots of natural materials that lend themselves to weaving wreaths. Trying shaping twigs and vines into a hoop shape as shown in the instructions below. If the material is supple enough to bend into a hoop you are good to go.
Here are a few ideas to get you started.
- Flexible Twigs such as Dogwood, Hazel, Cotoneaster, Beech and winter-flowering jasmine.
- Roots
- Stems such as brambles and Raspberry
- Vines. Grapevine, Clematis and Ivy all make wonderful wreaths
How to Make a Willow Wreath
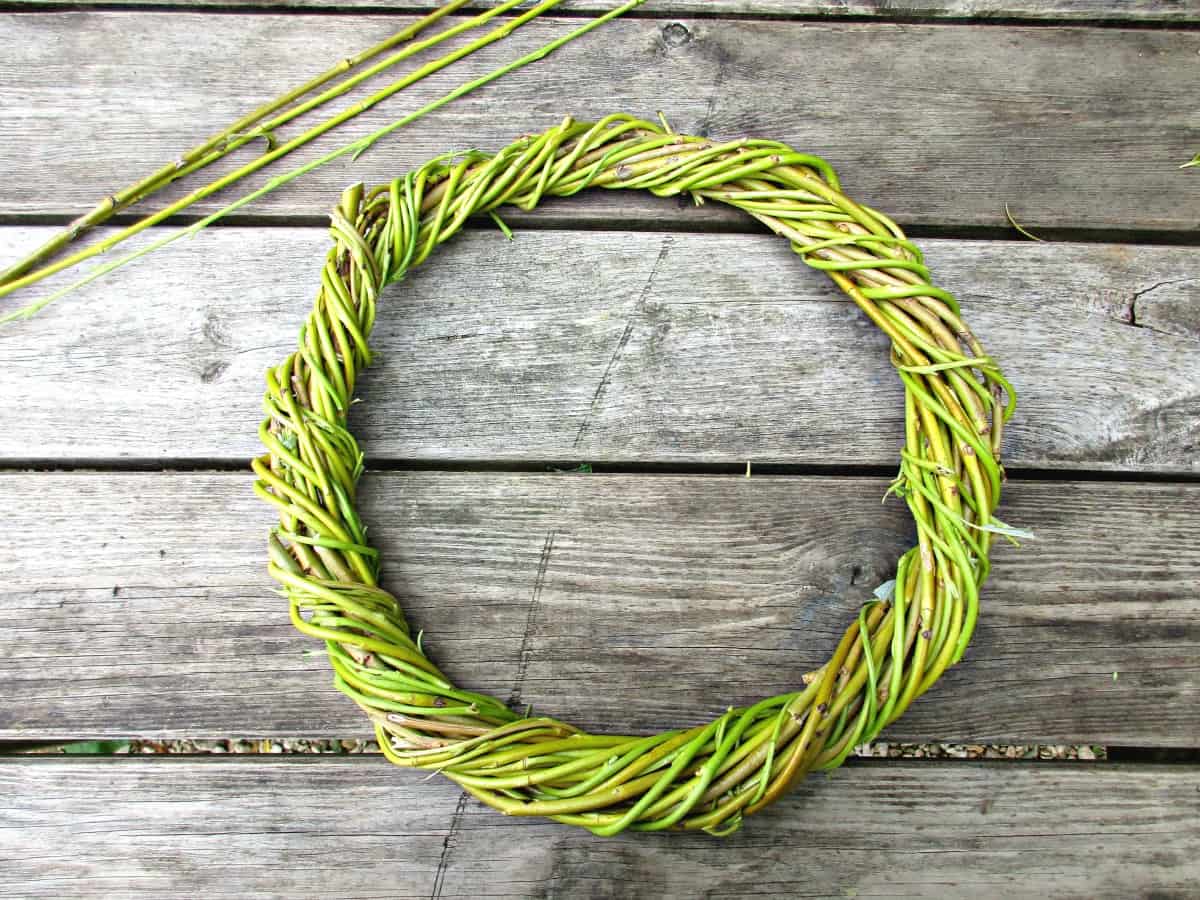
We started by cutting lengths of this year’s growth from our Weeping Willow. You can see from the photos that the bark is still a wonderful mix of yellow and green. It’s worth bearing in mind that all plants are much more flexible during their growing period when they are full of sap.
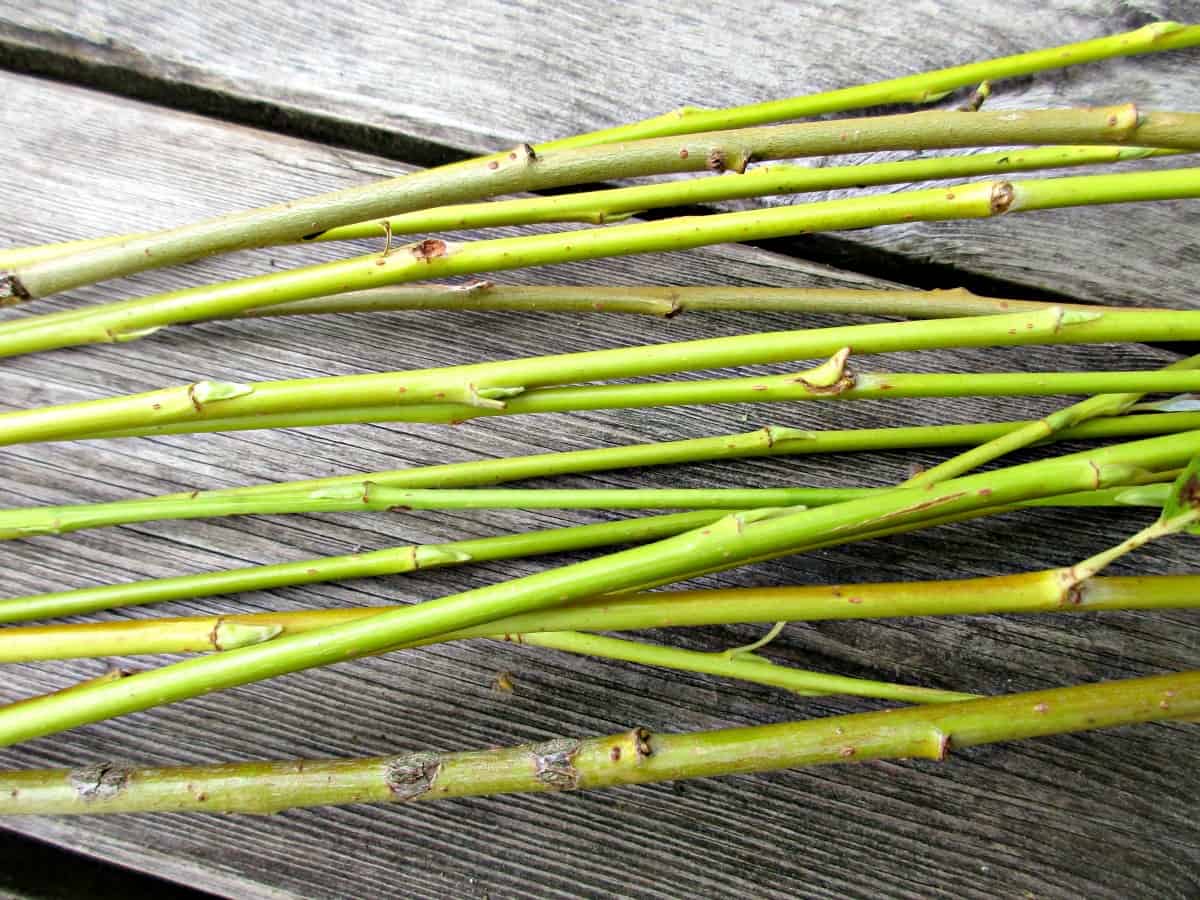
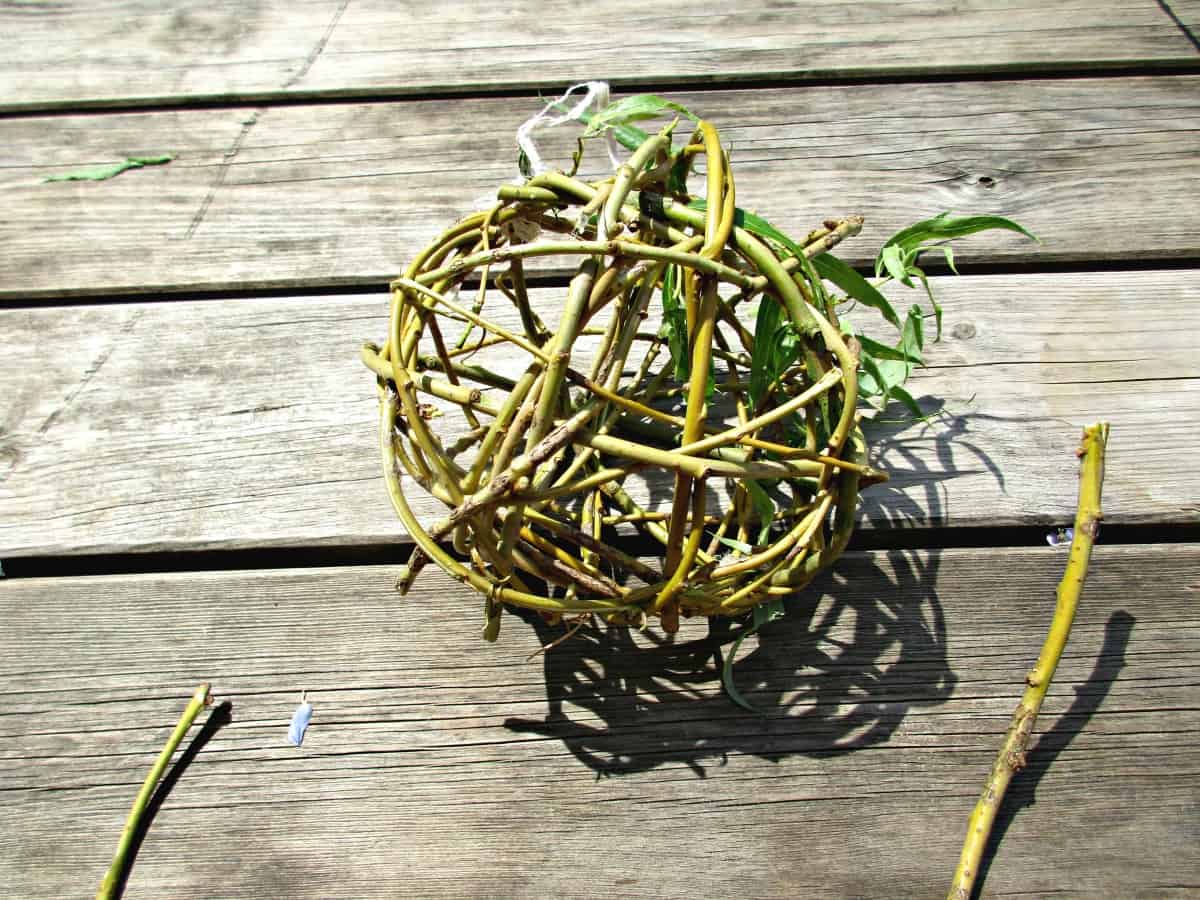
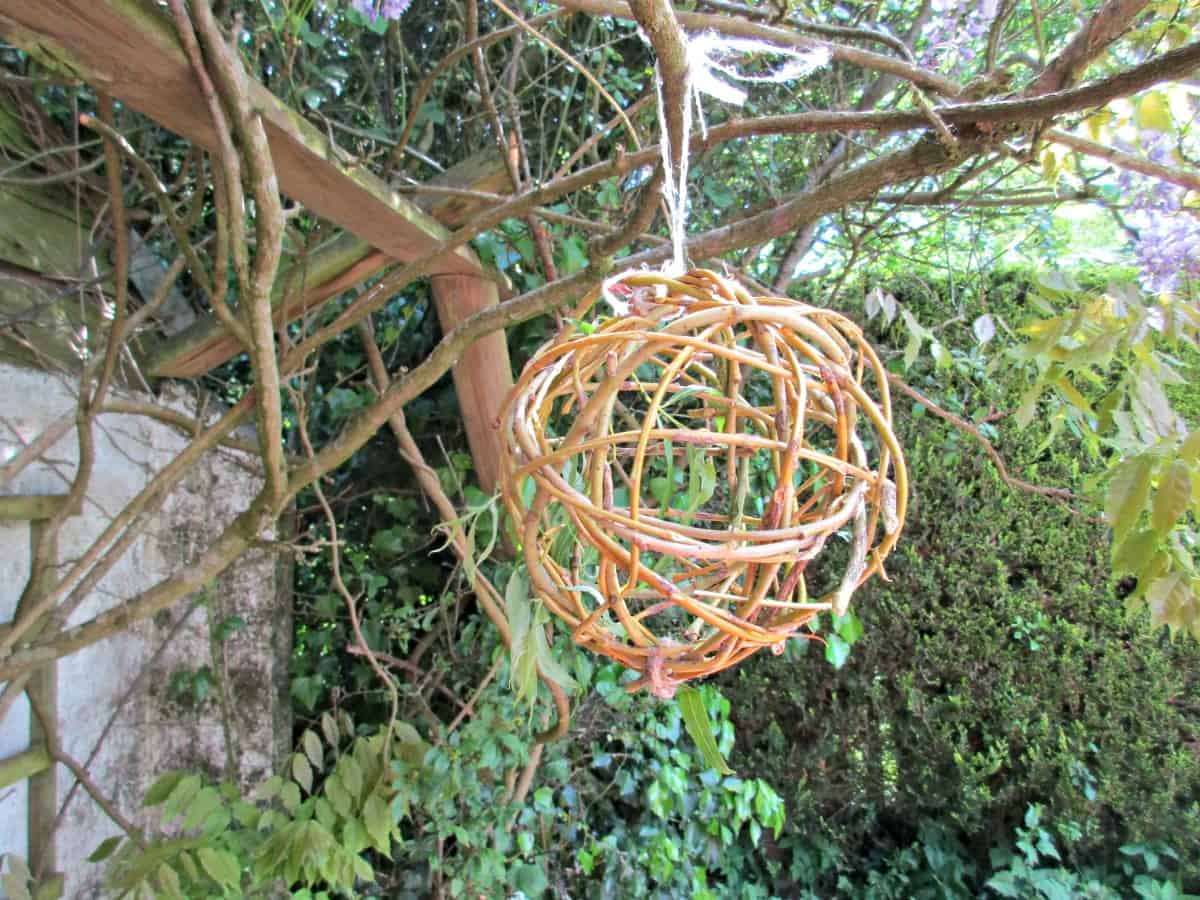
We stripped the leaves from the willow stems, leaving us with lengths that were approximately 1 – 1.5m long. These young willow sticks are very pliable which makes them perfect for weaving. Earlier in the year we cut some to make these rustic willow balls, which we used as bird feeders.
Weaving a willow wreath is very simple.
Start with the thicker sticks, and finish with the thinner.
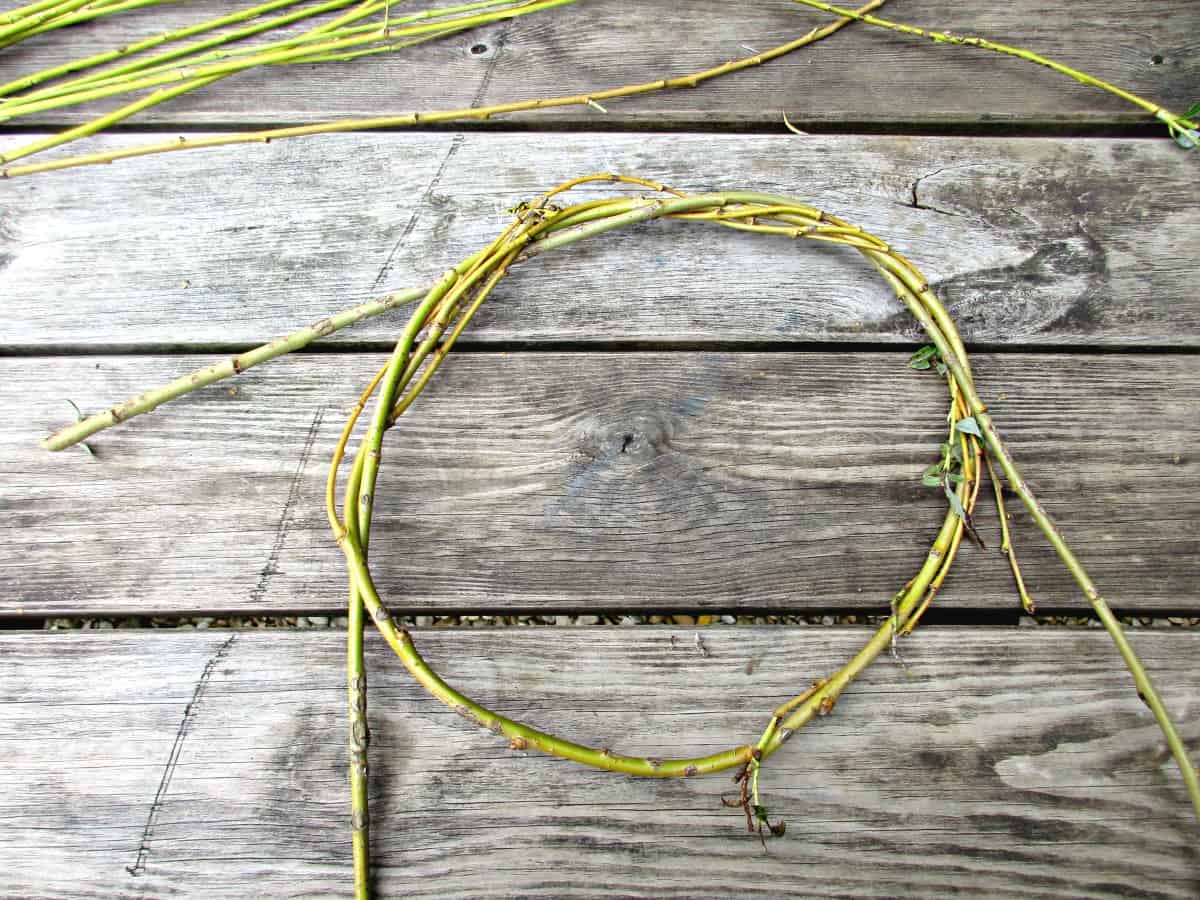
Take the first stick and weave it into a rustic hoop the diameter you want your wreath to be. Leave the tail piece from where you started sticking out of your ring (as shown in the photo below).

Add the second stick to the ring a quarter turn away from the first. Again, leave the tail sticking out for the time being.
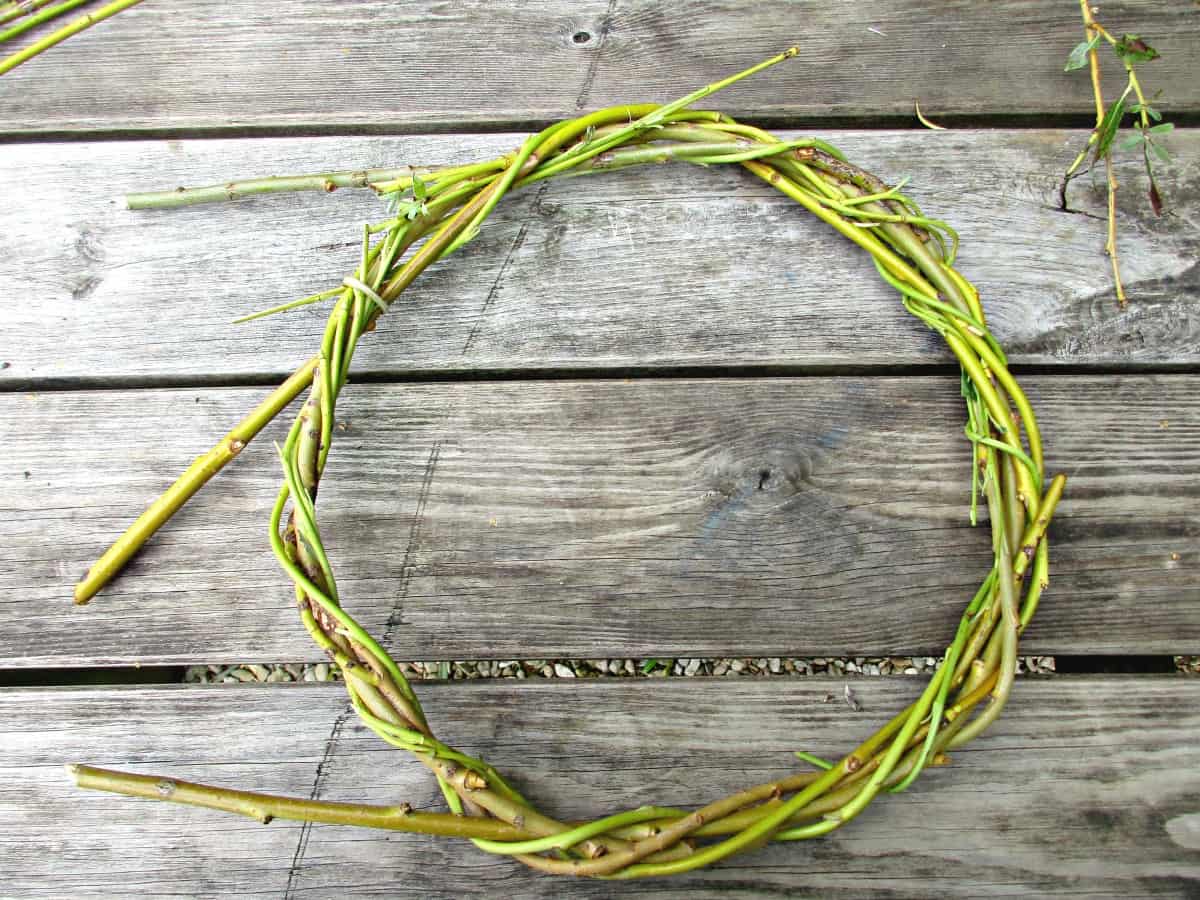
Continue turning your wreath and adding sticks. You will find that the willow wreath becomes rigid and takes shape very quickly.
This photo shows our wreath after we have added, and woven in, the third stick.
Note: If I am making flower crowns I stop at this stage.
As you add more sticks, you will find that the wreath holds itself together under tension, and it’ll be easy to tuck in the smaller ends as you weave.
The tails will start to lie flat and incorporate into the wreath as you add more sticks. Don’t worry about any that continue to stick out, as these can be trimmed off at the end.

When you are happy with the size of your wreath, trim off any tails and stragglers, using a pair of secateurs. Add a final couple of sticks to the wreath, this time tucking both ends into the weave, to give a neat finish.
Stand back and admire your handiwork!
How to use your willow wreath
Use your DIY willow wreath in it’s fresh, green state or dry it to use in future projects.
The willow wreath base will darken over time as it dries. Kept in dry conditions it should last for many years.
Ours is currently hanging in our shed drying out, while we decide what we are going to use it for.

Willow is a brilliant, free craft material that is so easy to use. Over the past few years we have made hundreds of willow flower crowns with children at festivals we volunteer at. They literally take minutes to make, and look gorgeous.

If we’ve inspired you try out some crafts using willow, check out the selection of some of our favourite willow crafts at the bottom of this post.

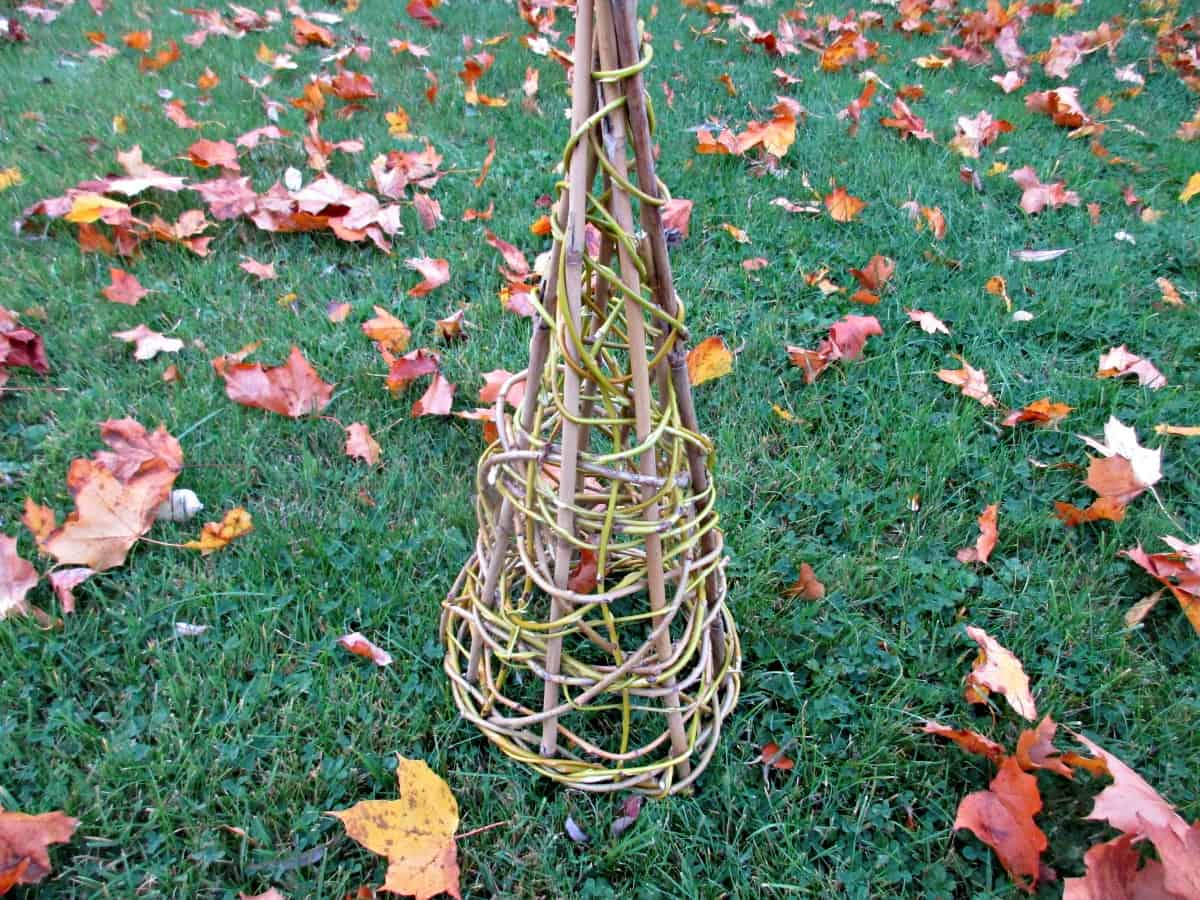
How to Make an Easy Rustic Willow Cone
This willow cone is simple to make and can be used as a base for all sorts of crafts as well as making a wonderful, rustic plant support for the garden.
How to Make Easy Rustic Willow Balls
Willow Balls are really simple to make, and are a lovely rustic ornament that can be used in a number of ways.
How to Weave a Beautiful Willow Crown
In this simple tutorial, we show you how to weave a beautiful, rustic willow crown which you can then decorate with flowers.

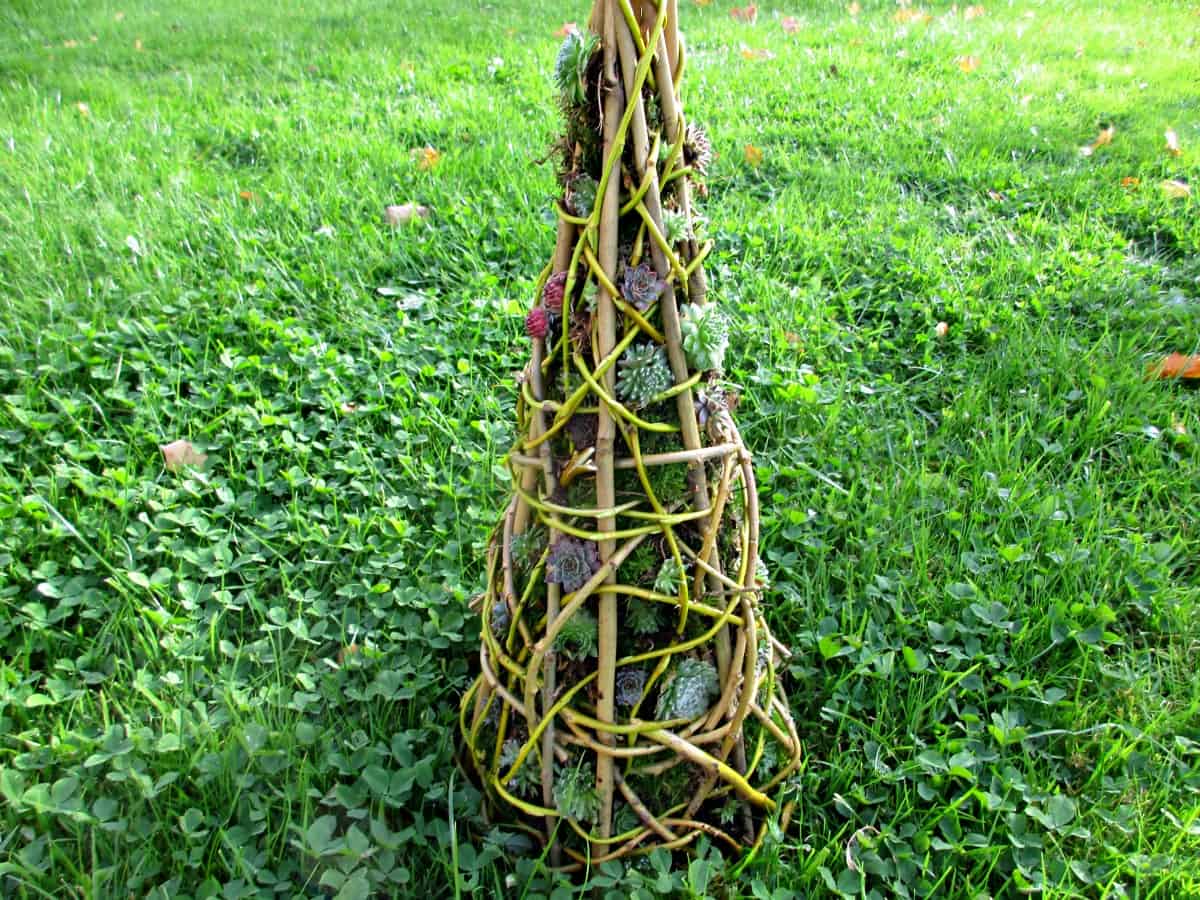
How to Make a Wonderful Succulent Christmas Tree
We turned our simple home-made willow cone into a wonderful Succulent Christmas Tree.
This wonderful centrepiece can be used both in the house and garden, and would also make a fabulous original gift.
24 comments
Hi. How long will weeping willow stay soft for once cut? I’m doing a charity wreath making event and need to cut lots from various friends trees – will it stay soft for 3-4 weeks if i keep it outside in damp conditions? your site has inspired me- such great idea!!
Hi Louise I’ve only ever kept it cut for about a week before using it for wreath making so I can’t be sure. You could stick the cut ends in water if you need to start cutting ahead? Good luck with your event :)
Had a go at making a wreath and loved it . Is there a particular time of year to cut the willow to make it for Xmas and if so will it stay pliable to make a wreath at Xmas? Xx
Hi Sharon. I’m glad you enjoyed making your wreath, there’s something really theraputic about willow weaving. Willow for weaving is traditional cut in the autumn/winter after the leaves have fallen and before the new buds form so you’ll be able to make them in the autumn for Christmas.
Hi I love these and have a willow tree in my garden and wanting to use the willow branches to make things like the balls and wreaths or stars maybe to decorate a tipi for my wedding. Just wondering though If i do them now with green branches would they be ok still next May? do they dry out or do they go mouldy – can’t seem to find anything about this… thanks for any advise.
Congratulations on your wedding Sophie. They wont go mouldy (as long as you keep them in a well ventilated place – hung up in a shed or similar) but they will lose the green colour and turn brown as they dry (wicker basket colour). If you wanted to make them now you could always paint them once they had dried out or spray them with glitter.
Hi Sarah why don’t you spray paint grey or white? You can also glue things on them for Christmas
That’s a great idea Gemma, thanks :)
[…] off was this wonderfully zingy green fresh willow wreath from Craft Invaders. Have a look at their site for full instructions – this one could definitely come in handy […]
Thank you so much for featuring our wreath :)
I love this! What a great shape and color. It would work well in any decor and style, you could decorate it in so many ways! What a fun project, now I have to find a willow tree to raid of their branches! This would look so great in many rooms of our house! And really great on our front door.
Thanks Nikki, willow is a beautiful tree – I believe we got the weeping willow from you guys so hopefully you’ll find one near you :)
I absolutely love it, the simplicity and that green! Gorgeous! Simple is best!!
The green is lovely, although it’ll change over time – but you have just given me an idea of how I might be able to preserve the colour, so thank you Katrin!
I am such a fan of wreaths! especially because I live in an apartment and feel like it’s one of the few ways I can make our place stand out/feel more like home. This one is particularly fresh looking!
I love the look of a wreath on a door too – here in the UK they are only popular at Christmas, but I think they are lovely all year around :)
Ah so simple and pretty – I love it! I am a big fan of wreaths.
They are lovely aren’t they Sarah Jean :)
I bet these would also make excellent basis for willow crowns. Love the look and can’t wait to see it fully dried!
I’m sure they would Brianna, I’m a little sorry it wont stay green – be lovely for a spring wreath :)
Sarah – this wreath is absolutely stunning in its simplicity!
Thanks Ilka, it does look lovely in its green form :)
Great tutorial and stunning pictures, I was enthralled all the way around. Can’t wait to see what you do with it when it’s dried out.
Thanks Michelle. I haven’t decided what we’ll use it for yet – will have to wait for inspiration to strike!