In this tutorial, we show you a fun way to use the netting bags that onions come in to decorate terracotta pots.

I’ve had these onion nets saved for quite some time now, working on the theory that I’ll find a use for them eventually. We try to buy produce without packaging as much as possible, but I still pick up packaged things occasionally if I know I can make use of it.

I recently shared my How to Upcycle Wire Lampshade Frames into Plant Stands with you. One of the stands holds a terracotta pot, and I came up with the idea of adding a little diamond pattern using the netting as a screen.

What we used to decorate our terracotta pots.
- Terracotta pots
- Spray paint (I used chalkboard spray paint that I picked up cheap in Lidls)
- Fine netting. This one is the packaging onions often come in.
Top Tip: I’ve started using a rotating cake stand (Amazon Affiliate link) protected with a plastic bag when spray painting my crafts. It allows you to spin the object as you spray it rather than trying to move around the object. It does make the whole process much more comfortable, so I highly recommend it if you do have a cake turntable to hand.

How to decorate terracotta pots with netting and spray paint
Start by slipping the netting over the terracotta pot.

If you only want to decorate part of the terracotta pot, use masking tape to blank out the rest.
I sprayed two pots, one completely and the other I masked off the rim.

It is best to spray paint outdoors or an extremely well-ventilated area. On this occasion, I did spray indoors due to it being too cold outside, so made sure I covered everything well to protect it.

I gave each of my terracotta pots one coat of the chalkboard spray paint.
I then left the pots to dry. Since terracotta is porous, this didn’t take long at all.

Once the paint was completely dry, I lifted the netting to reveal the decorated terracotta beneath.

And here is my finished decorated terracotta pot.
I love the pattern the netting has created.

While I was preparing the pots for spraying it did occur to me that sticking the net to them would also look fab. Perhaps that’s something I’ll try out in a future make.
If you have enjoyed this recycling tutorial, why not check out some of our other quirky projects using recycled materials. You can find a list of our favourites below.
How to Make Candlesticks from old Curtain Rings.
In this simple upcycling tutorial, we show you how to make candlesticks from a handful of old curtain rings and a couple of wooden spheres.

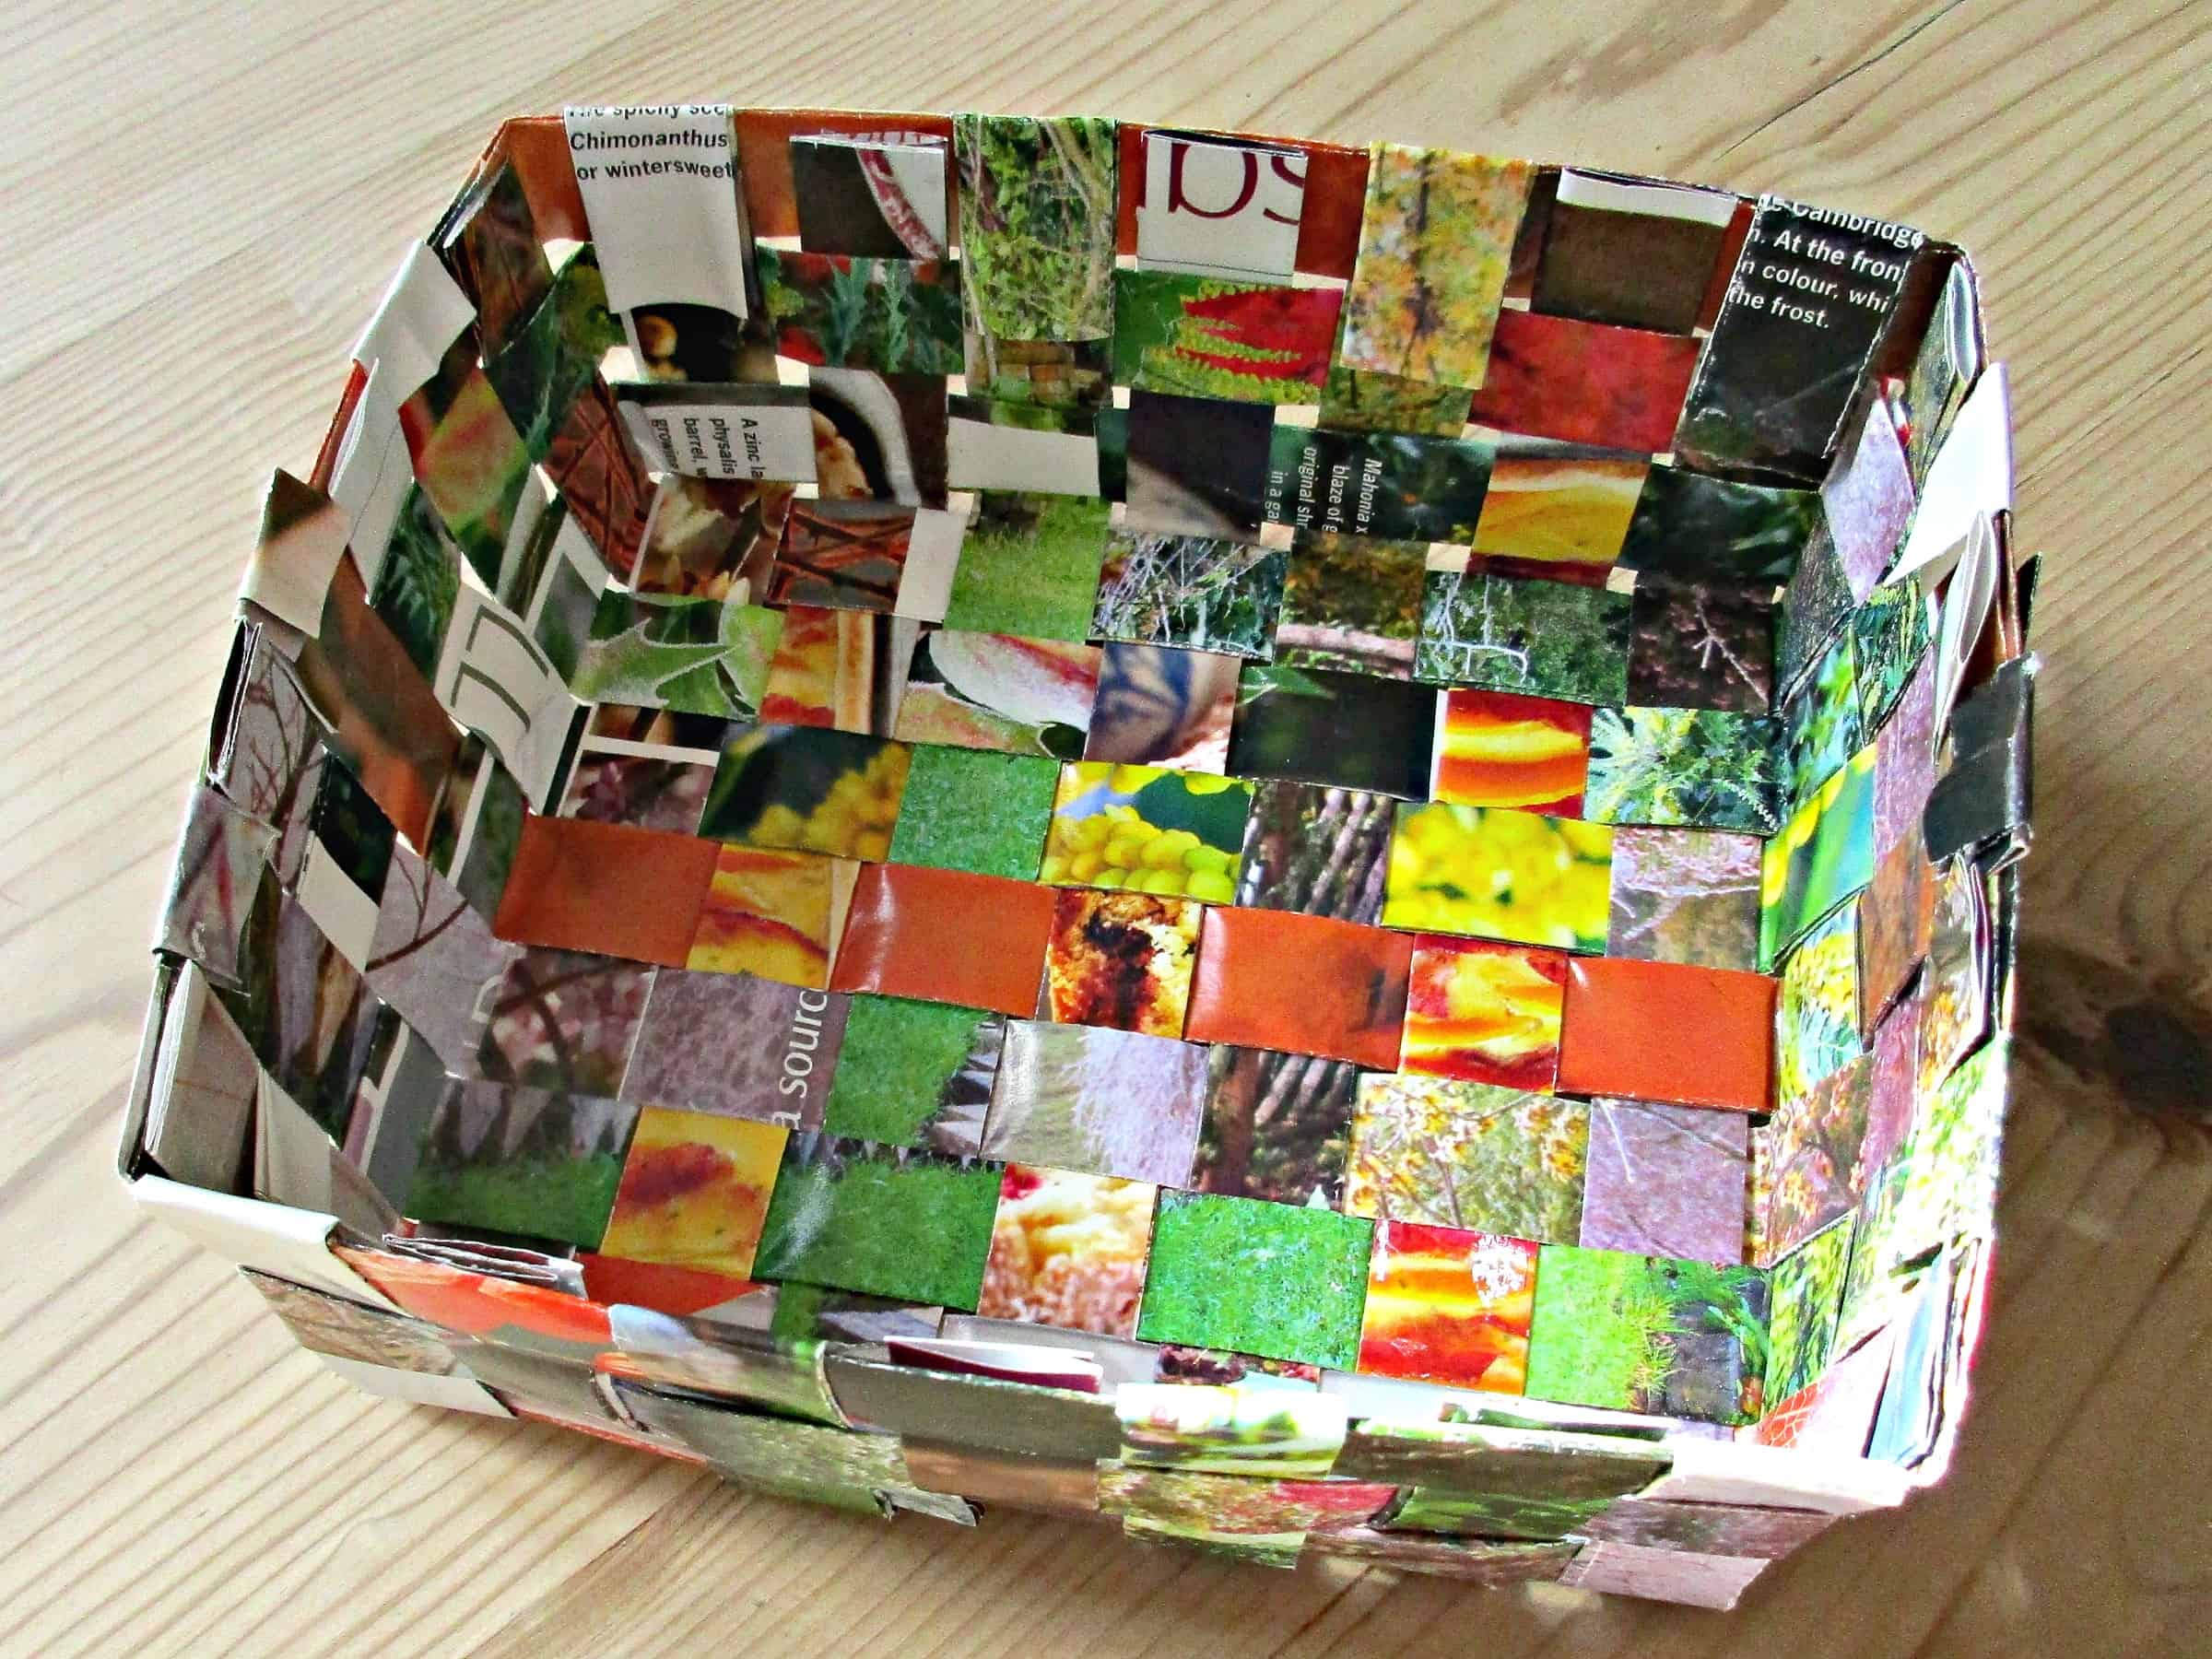
How To Make An Easy Recycled Magazine Basket
There are a few different ways you can make baskets out of recycled magazines. This basket weave design is probably the simplest and quickest.
How To Repurpose Broken Mugs Into Planters
Wondering what to do with the old coffee cups stuck in the back of your cupboard? Here’s an easy craft idea to repurpose broken mugs into cute planters.

How To Make Cute Square Pots For Mini Cactus Plants
Square pots made from ceramic tiles are perfect for displaying mini cactus plants and other succulents. In this tutorial, we show you how to make a stylish window sill planter to display your miniature plants.

Marbling Bottles with Nail Polish.
This simple tutorial explains how to marble glass bottles using nail polish. It’s a great way to use up all those polishes you never wear, with stunning results!
