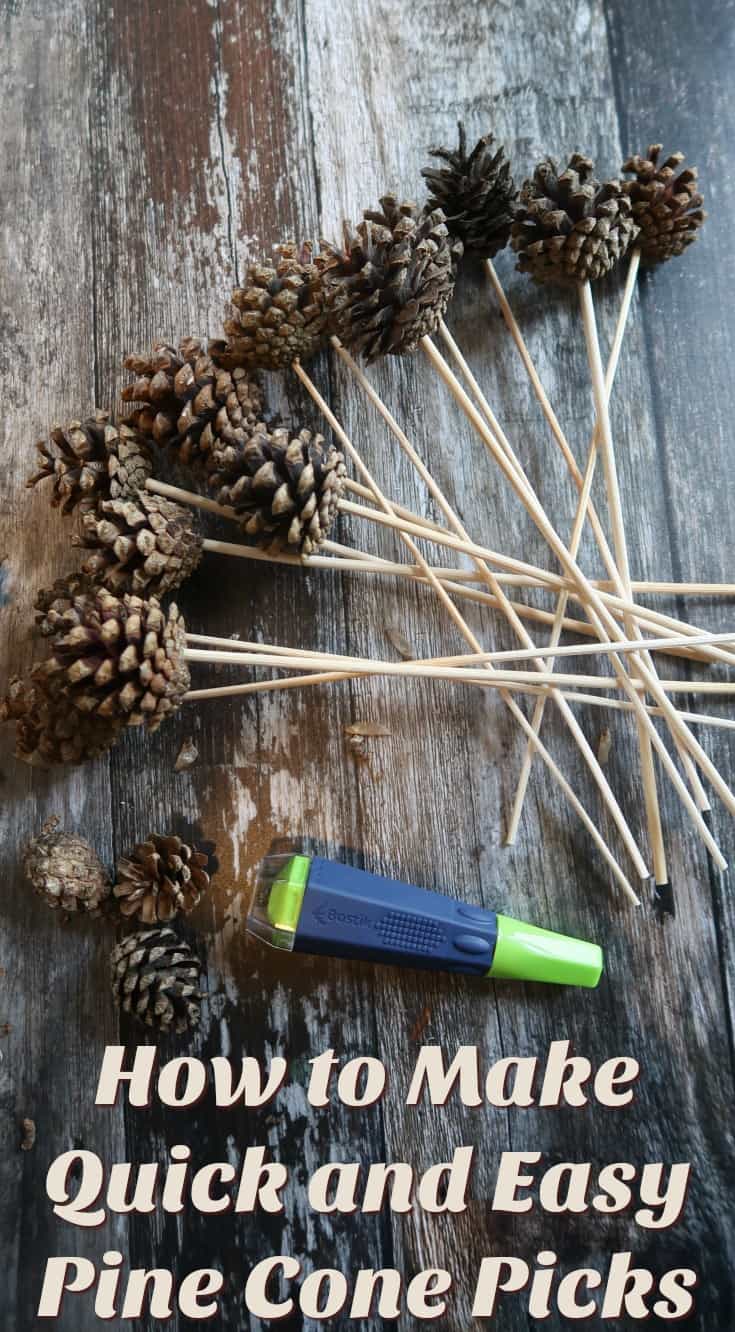
Pine cone picks are an easy way to include pine cones in your festive wreaths and flower arranging. Here we show you how to make them in literally a flash.
Disclosure: I am delighted to be working with Bostik as a Bostik Blogger. Each month the Bostik Bloggers create a craft that our readers can easily re-create at home.
What you Need to Make Pine Cone Picks
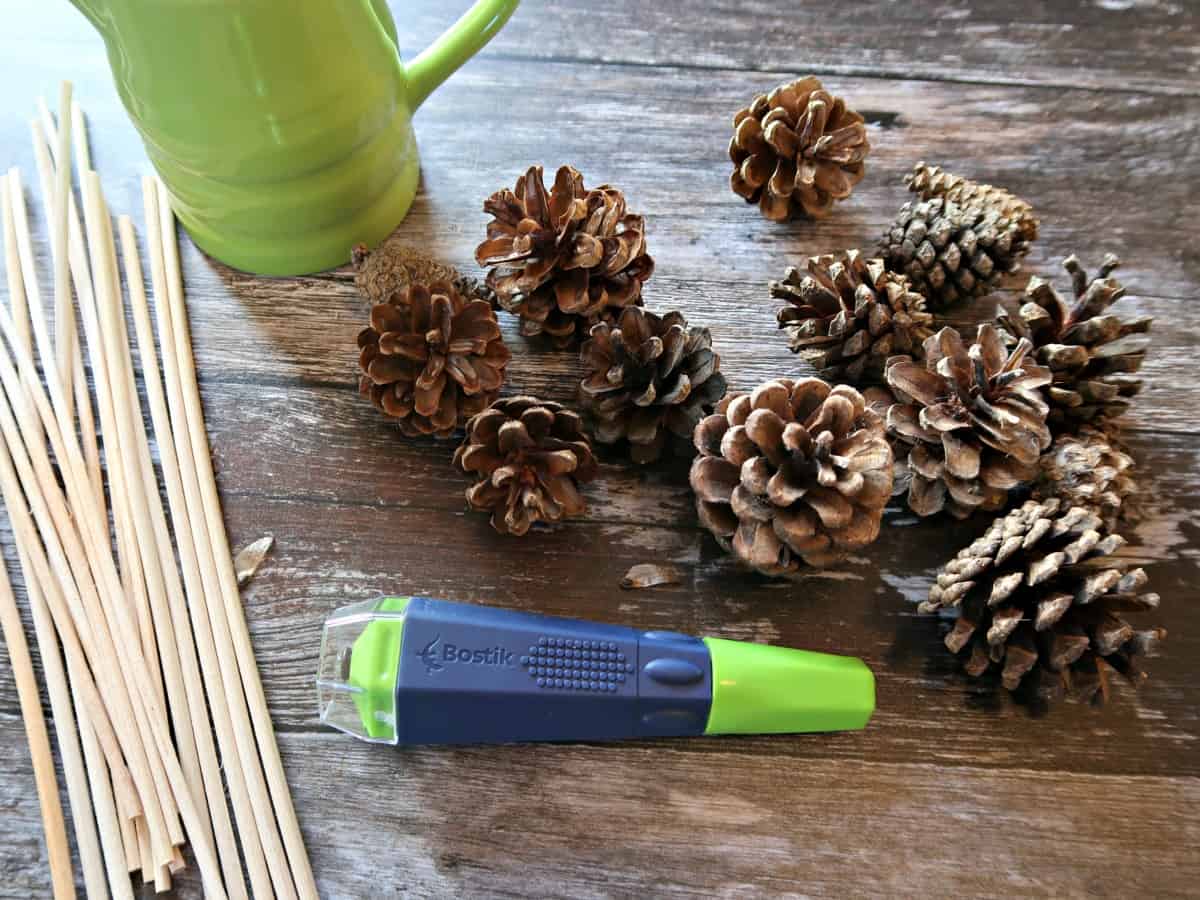
Pine Cones. I collected these pine cones myself and left them in a warm place to thoroughly dry and open. You can easily substitute the pine cones with nuts, seed heads or even baubles to make other versions of decorative picks.
Sticks. I used spent reed diffuser reeds to make my pine cone picks, leftover from my homemade reed diffusers. Although the stems are thoroughly dried, they still carry some scent.
Glue. I used Bostik Fix and Flash (Amazon Affiliate link). If you have ever tried to stick a stick to a pine cone, you’ll know it’s not nearly as easy as it sounds. Bostik Fix and flash is a game-changer for this particular craft.
What is Bostik Fix & Flash?
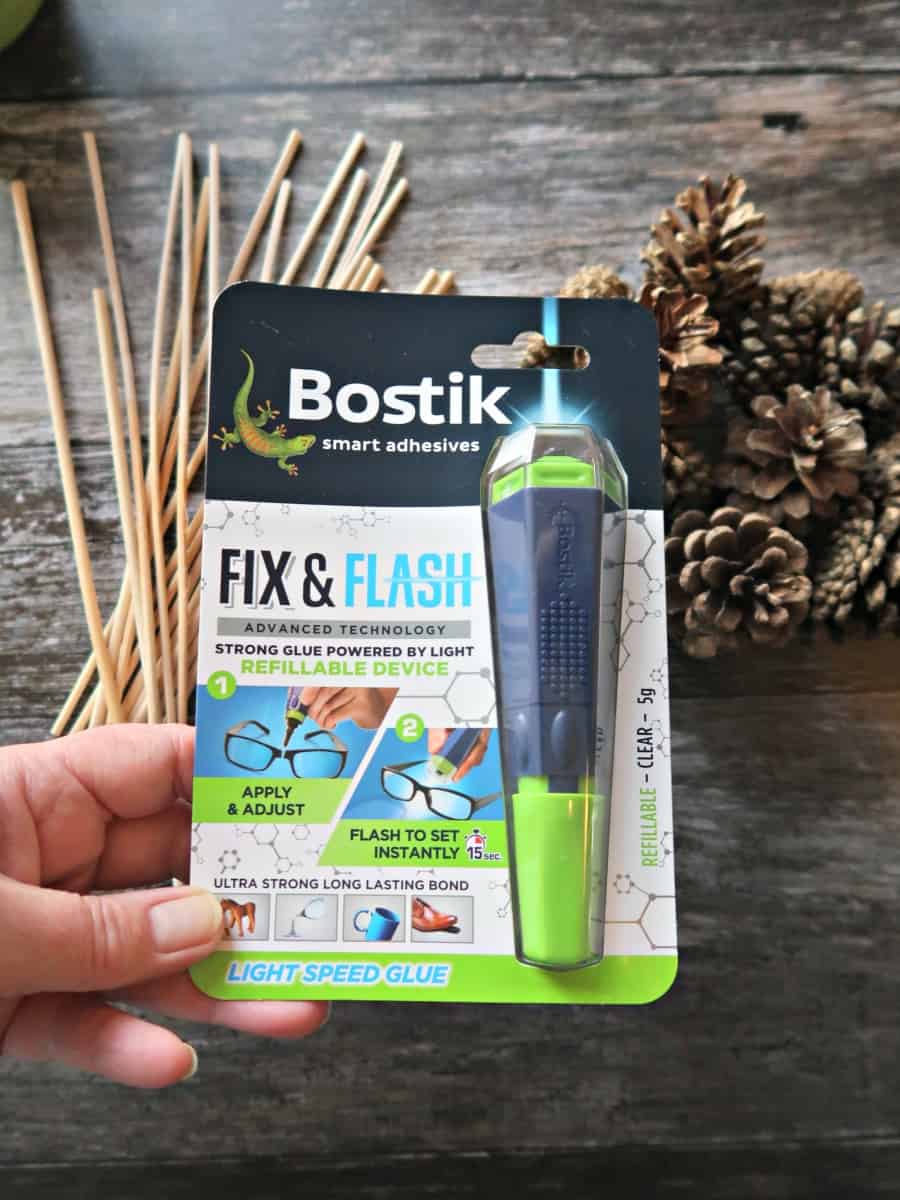
Bostik Fix & Flash is a clear, odourless, solvent-free glue that cures through the application of light. Both the glue and UV emitting LED are contained within the same easy to hold device. It works using a simple two-step process.
Firstly you apply the glue to the surfaces you wish to adhere. The adhesive is re-positional, making it perfect for intricate work.
Once you have your objects placed precisely, wait 3 seconds for the initial tack, then press the little LED bulb on the applicator to turn it on.
Shine the light around the edge of the glue for 15 seconds to set it, and the materials will bond.
Making Pine Cone Picks.

Apply the Fix and Flash glue to the pine cone.
Position the stick in place and hold for 3 seconds.
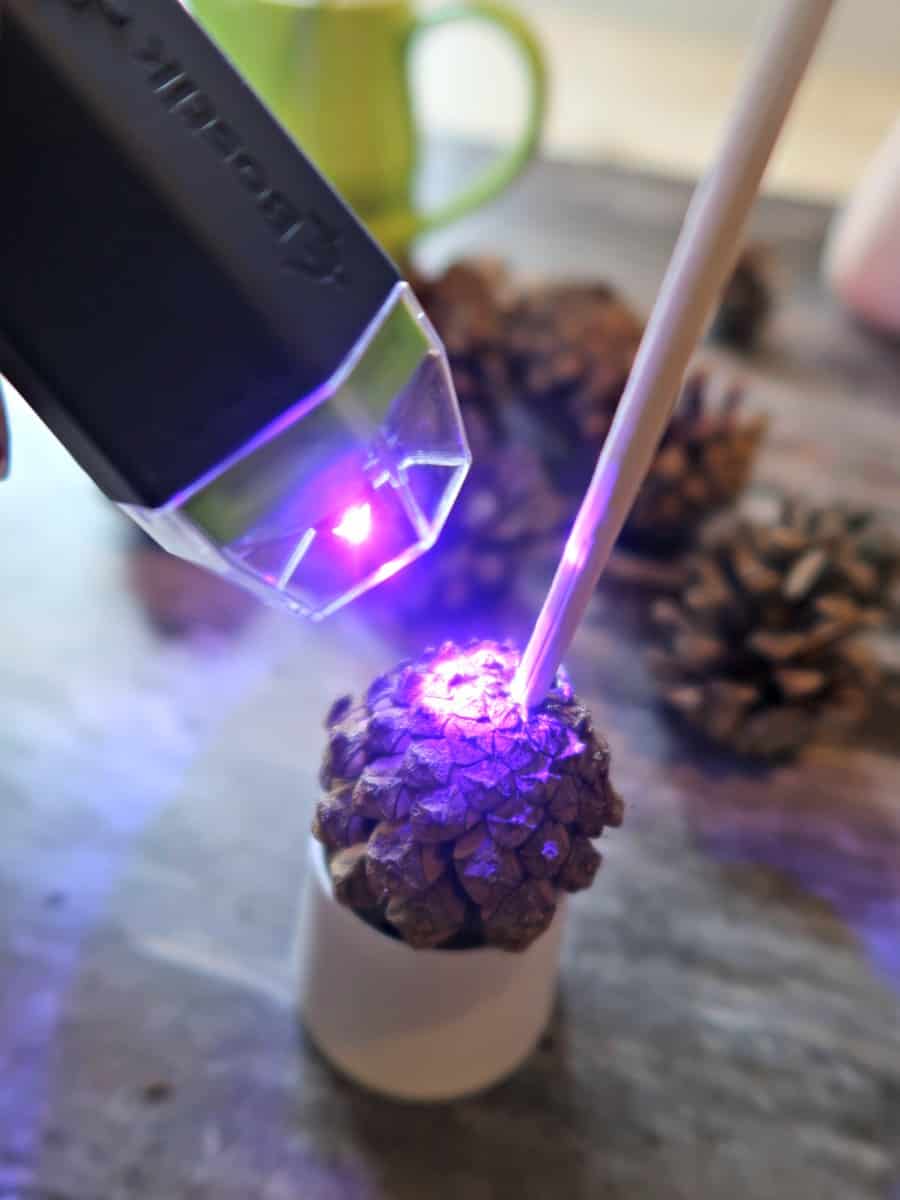
Then shine the LED light at the glue for fifteen seconds to bond.
And that’s it. No waiting, trying to hold things in position while the glue dries. Just twenty seconds to make each pine cone pick.
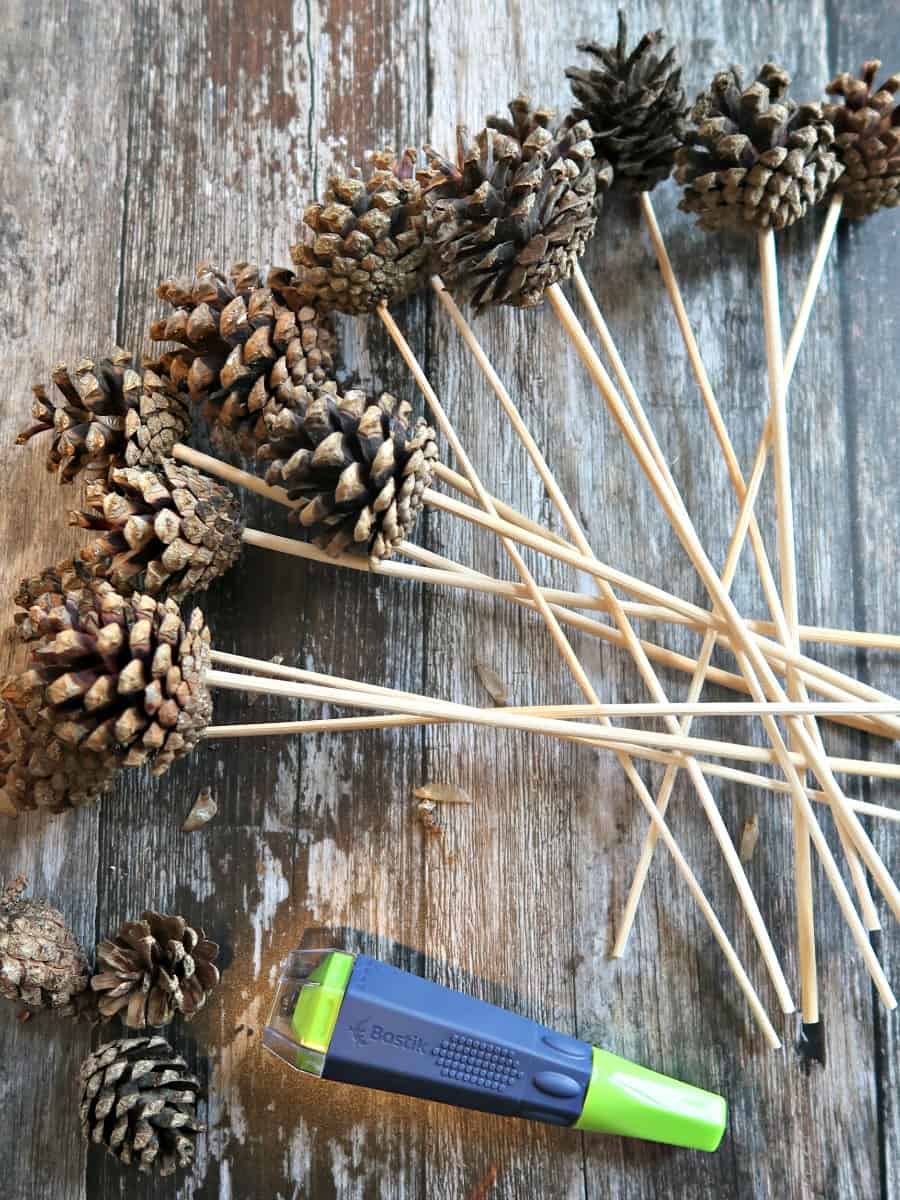
I love crafting with natural elements. They’re free, sustainable and a lovely way to bring a touch of nature into your home. For another beautiful way to use pine cones in your decor check out our stunning Acorn and Pinecone Wreath.
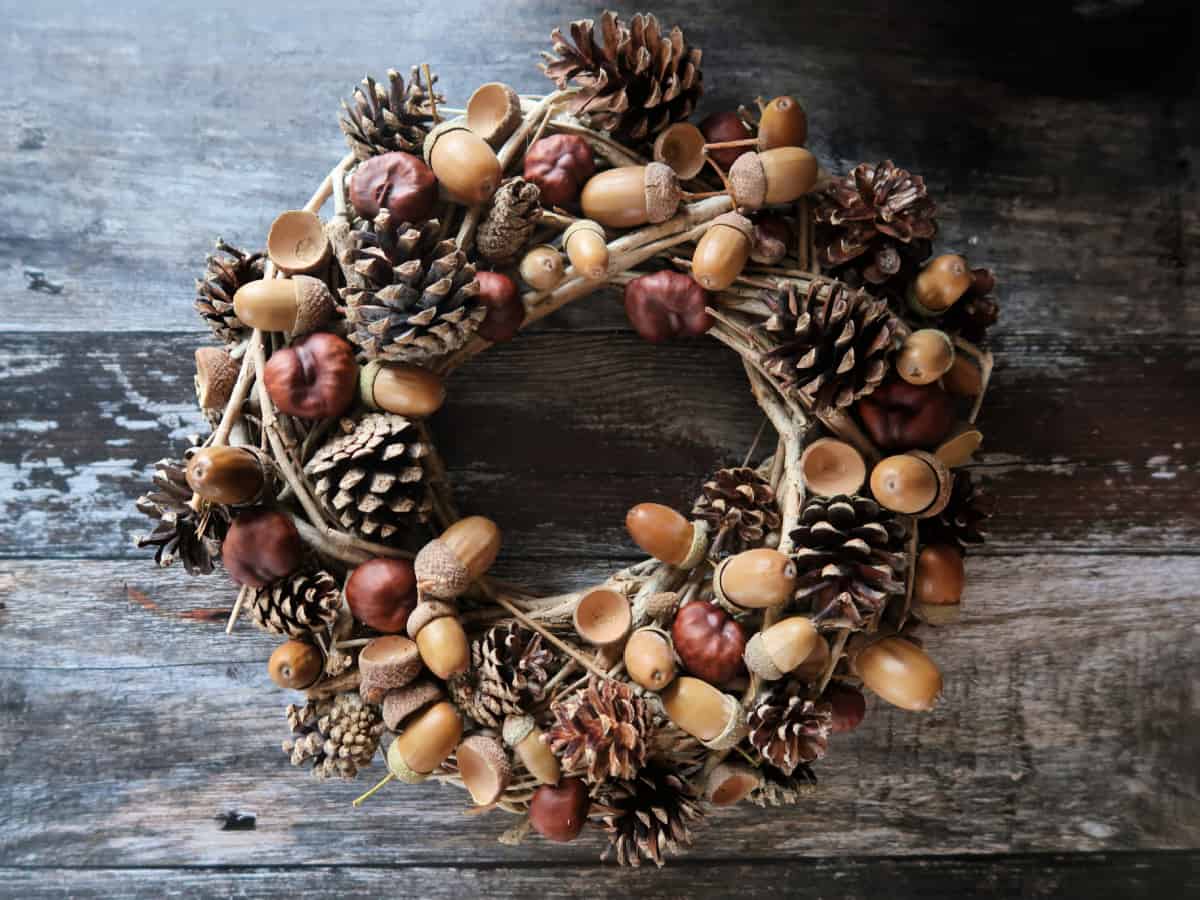
I’ve used pinecones, acorns and conkers for my fall wreath, but you can use just one element such as pinecones or any autumn nuts, seed heads or dried fruit available to you.
If you’d like to try Bostik Fix & Flash for yourself, you can find it at your local Hobbycraft store.

If you have enjoyed our Pine Cone Picks tutorial, why not check out some of our other quirky Christmas ideas. You can find a list of our favourites below.
How to Make a Star Wreath Using Floral Foam
I show you how to cut a star wreath form from floral foam easily, and decorate it with fresh foliage to make a stunning star wreath to hang on your front door.

How to Easily Bleach Pine Cones at Home
We test out how to bleach pine cones at home. Does it work and how long does it take? We have all the answers here! See our bleached pine cones turned into a beautiful centre-piece.

How to Make a Stunning Twig Chandelier
Our Twig Chandelier makes a beautiful ceiling Christmas Decoration. Check out our video tutorial to see exactly how we made it!

How to Make Colourful, Recycled Gift Bows.
Colourful, recycled gift bows made from old magazines are super simple to make and look just as fabulous as anything you might buy in the shops.

4 comments
I want to learn all this beautiful stuff that I see I just love it ❤
Thank you so much for your kind comment Luz :)
Thanks Sarah! I loved your bleached pine cone projects. They’re so natural looking; such a beautiful look.
Thank you so much Cheryl :)