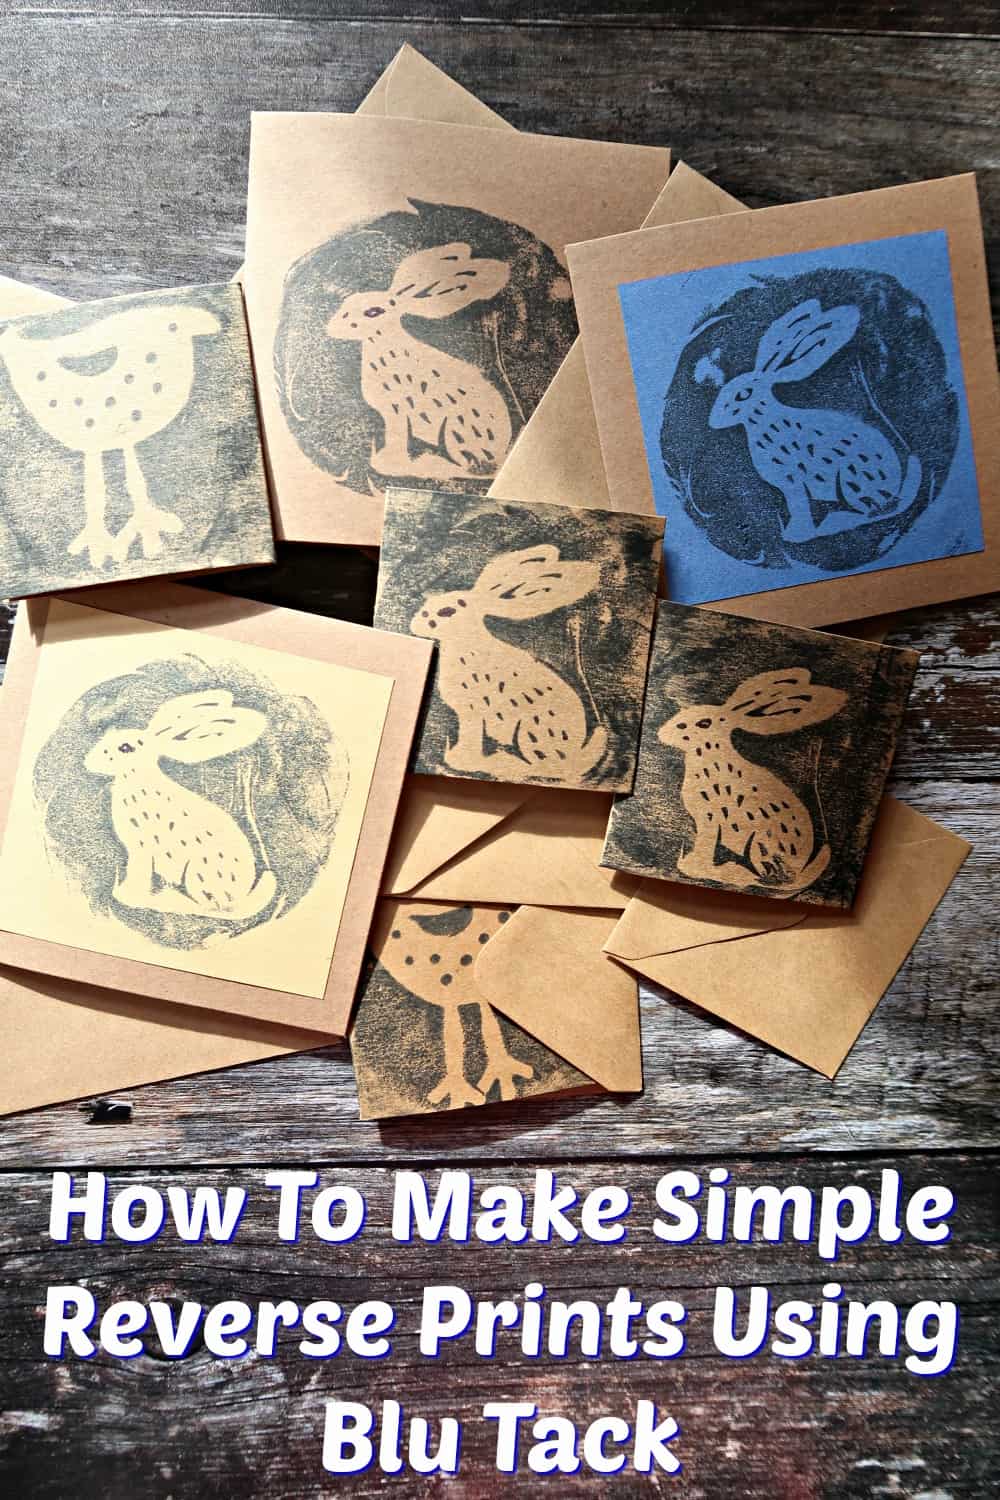
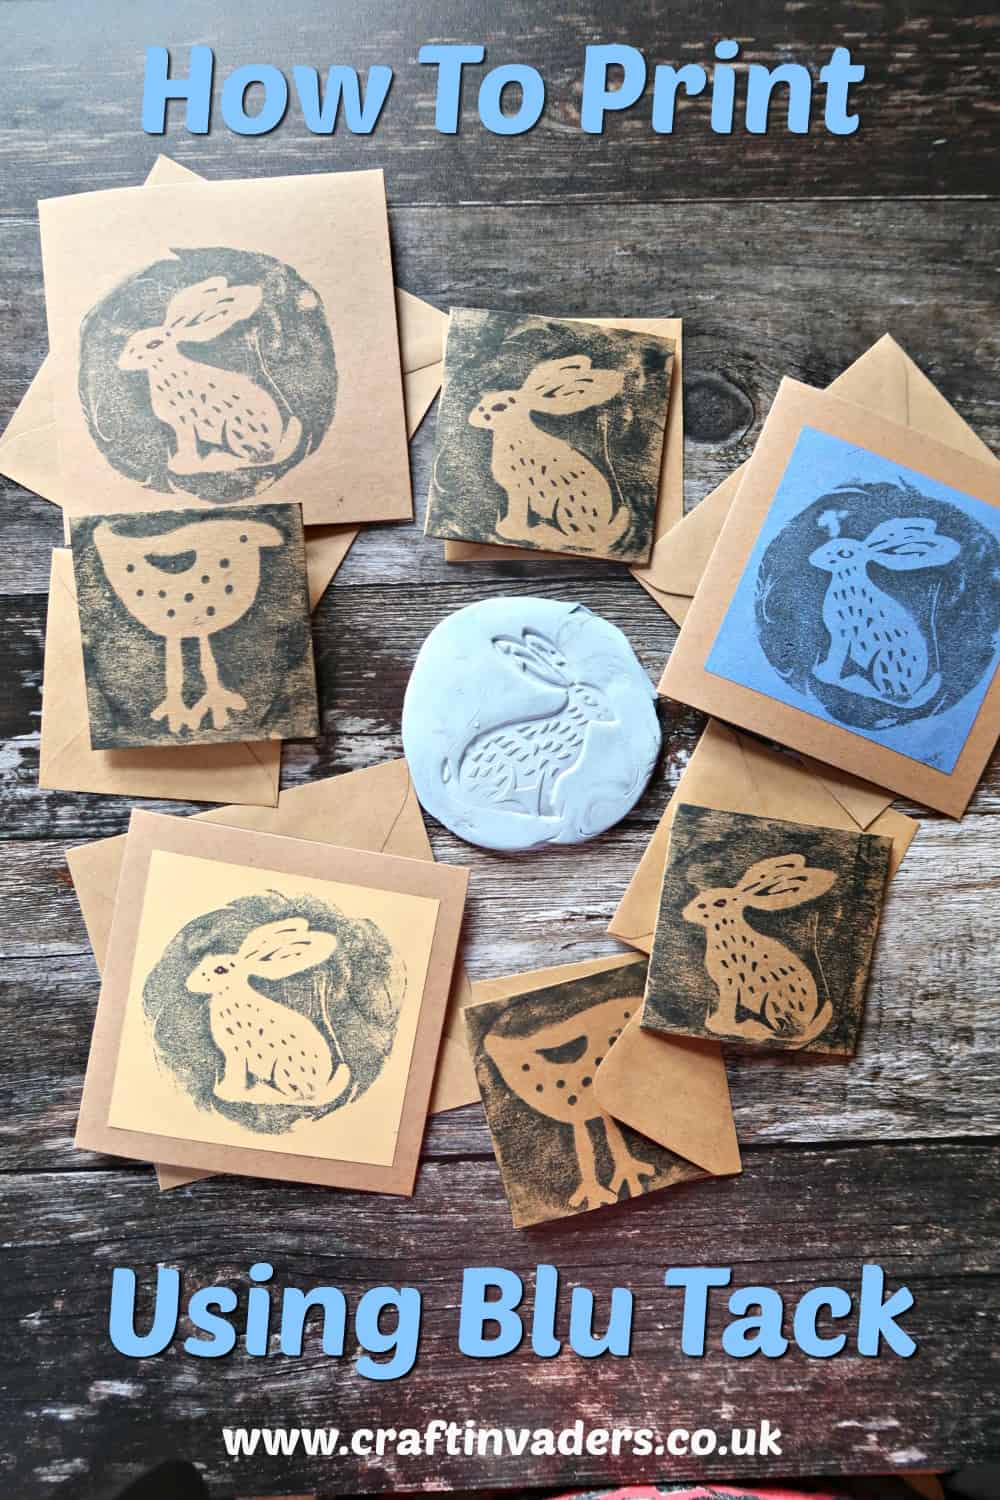
We show you how to make simple, gorgeous reverse prints using Blu Tack. Reverse prints are perfect for use as greeting cards and home décor.

Disclosure: I am delighted to be working with Bostik as a Bostik Blogger. Each month the Bostik Bloggers create a craft that our readers can easily re-create at home. This month we are taking part in the #BluHacks campaign, which celebrates the many unusual and creative uses for Blu Tack.
Do you have a brilliant Blu Tack hack? Share your unusual uses for Blu Tack for a chance to win £100 in Amazon vouchers in time for Christmas! You can find all the details on how to share your #BluHacks over on the TOTS100 Website.
What is a reverse print?
A reverse print is a printing technique where ink is applied to the area surrounding the images, rather than the image itself. Often used on glass, the resulting print exposes the material it is printed onto as the image while the background is inked out.

Blu tack uses.
Blu tack is perhaps best known for its ability to attach lightweight objects such as posters and photos to surfaces, but that is the tip of the iceberg for this useful product.
In my last #BluHacks post, I showed you how to use it to make gorgeous ice bowls. Some other handy uses of Blu Tack include
- Creating 3 Dimensional Models.
- Sticking behind picture frames to keep them straight.
- Cleaning dust of computer keyboards.
- Holding components in place while soldering.
- Holding items in place on shelves and windowsills.
- Removing hair from clothes.
- Sealing around windows.
- Holding items in place to reduce vibration.
- Holding tape measures in place.
- Picking up pins and other small objects.
- Attaching screws to the screwdriver for hard to reach places.
- Holding parts in place while glueing.
- Making slime.

To reverse print using Blu Tack you will need
- Blu Tack (Amazon affiliate link)
- Ink
- Something to make the print impression
- Paper or Blank Cards
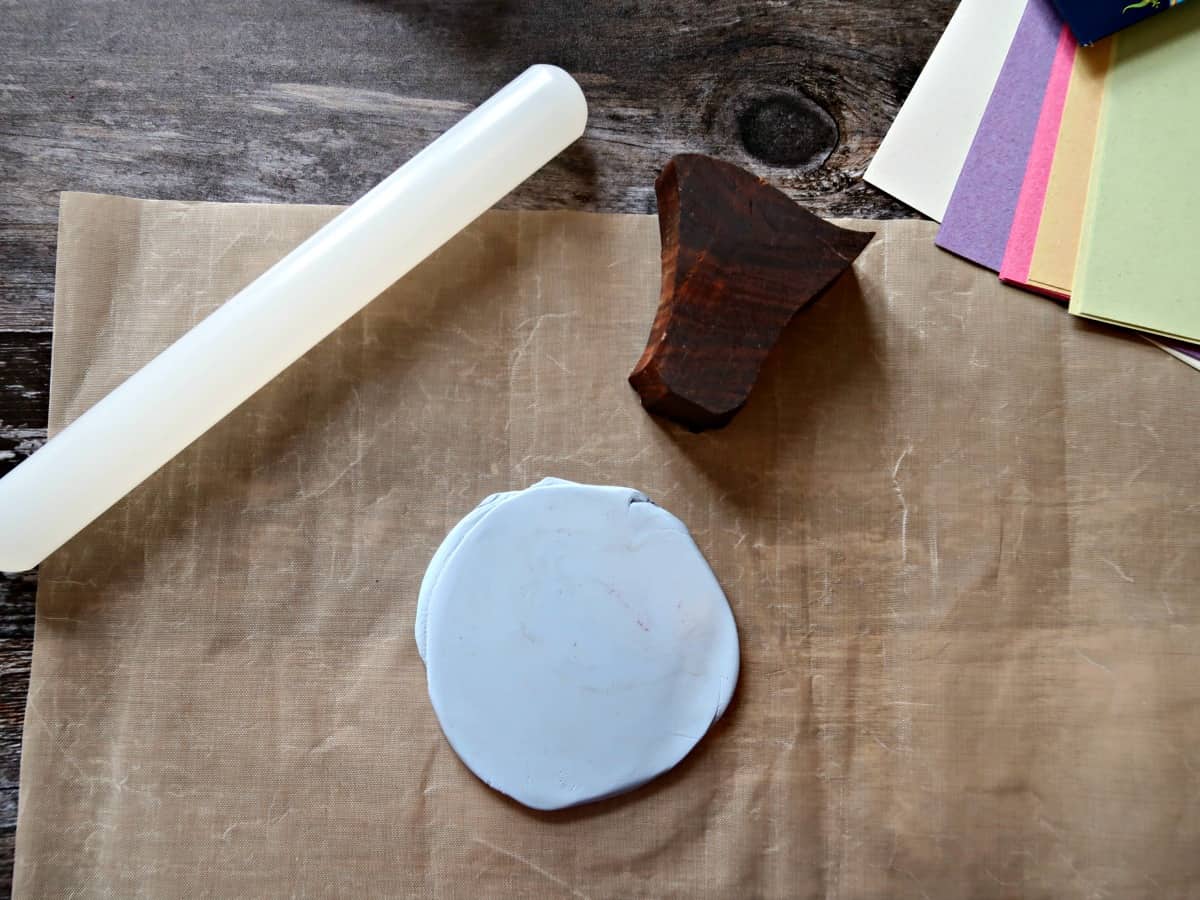
I used a couple of pretty Indian woodblock stamps (Amazon affiliate link) to make my reverse print stamp, but you can use anything firm enough to push into the Blu tack and leave an imprint.
How to make simple reverse prints using Blu Tack
I used two packets of Blu Tack to make my reverse print stamp.
To begin, I moulded the two pieces of Blu Tack together, then rolled them out into a circular shape.

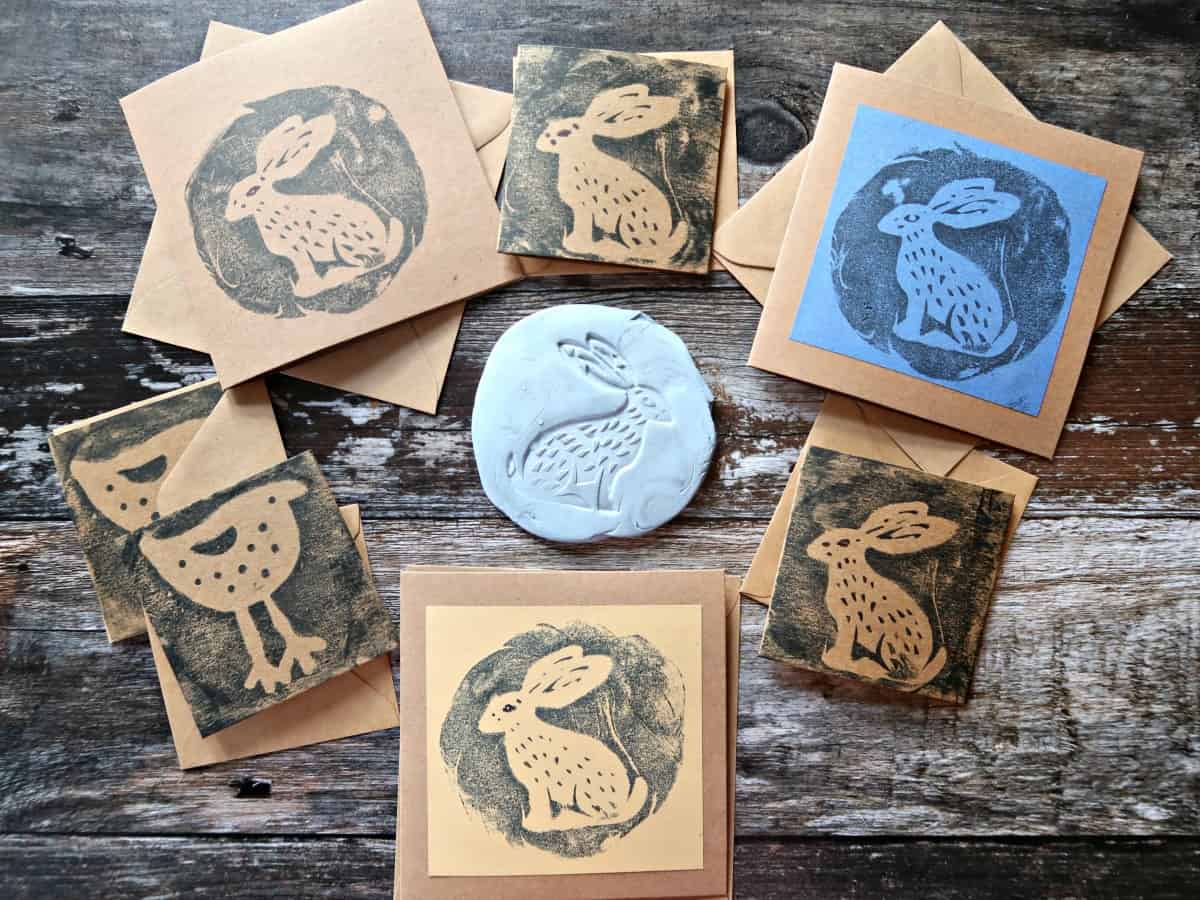
I used my stamps to imprint into the Blu Tack, before peeling the Blu Tack away to expose the reverse print pattern.

I used an ink pad to ink up my Blu Tack stamp. If you don’t have an ink pad use a make-up sponge or similar to apply ink or paint instead.

Press the paper or card down on to the inked stamp and rub across its surface. If you are making cards ensure you are printing the right way up – I managed to get mine the wrong way around below!

Peel back the card to reveal your print.

Making a reverse print really is as simple as it looks.

I love the look of these reverse print cards; it reminds me of lino printing and is an excellent way of getting a different look from woodblock stamps.

For more printing inspiration, check out my washable home-made fabric paint, or for something completely different, my making eco prints with a steamer tutorial.

2 comments
What can you do with the Blu Tack after printing with the ink pad? Is it reusable? Can you roll it out again to use a different stamp?
Thank you
You can re-roll it and keep using it. wipe the excess ink off first – I actually rinsed mine off with a bit of soap and water :)