Have you heard of a spring bulb lasagne? It’s an easy way to create beautiful spring bulb pots that will reward you with flowers from late winter through the whole spring season.
The concept is simple. Planting bulbs in layers allows bulbs that flower at different times to share the same pot, as one finishes blooming another is ready to take its place.

It’s the ultimate space-saving gardening hack!
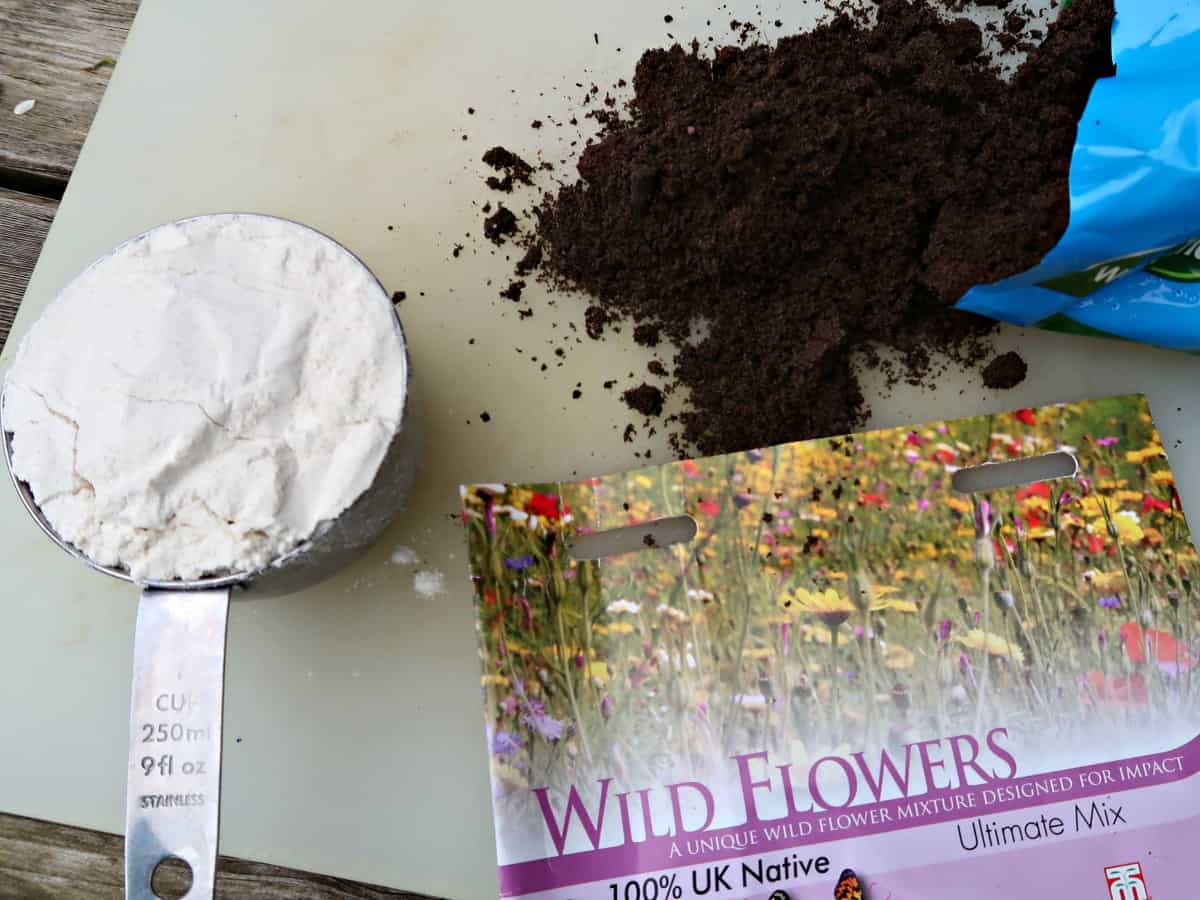
What we used to build our bulb lasagne.
Note: We decided to plant our bulbs much closer to each other than planting guides suggest to ensure a full display.
The more substantial your pot, the more bulbs you’ll be able to fit into your bulb lasagne. These containers have a diameter of 15 inches across their tops and are 12 inches high. They are just big enough to fit three layers of bulbs in, and I hope to get two years good display out of them before having to renew.

There is no doubt that the most challenging part of this project is choosing the bulbs. I drove my daughter mad, changing my mind in the garden centre. The trick is to choose bulbs that will give you a succession of flowers.
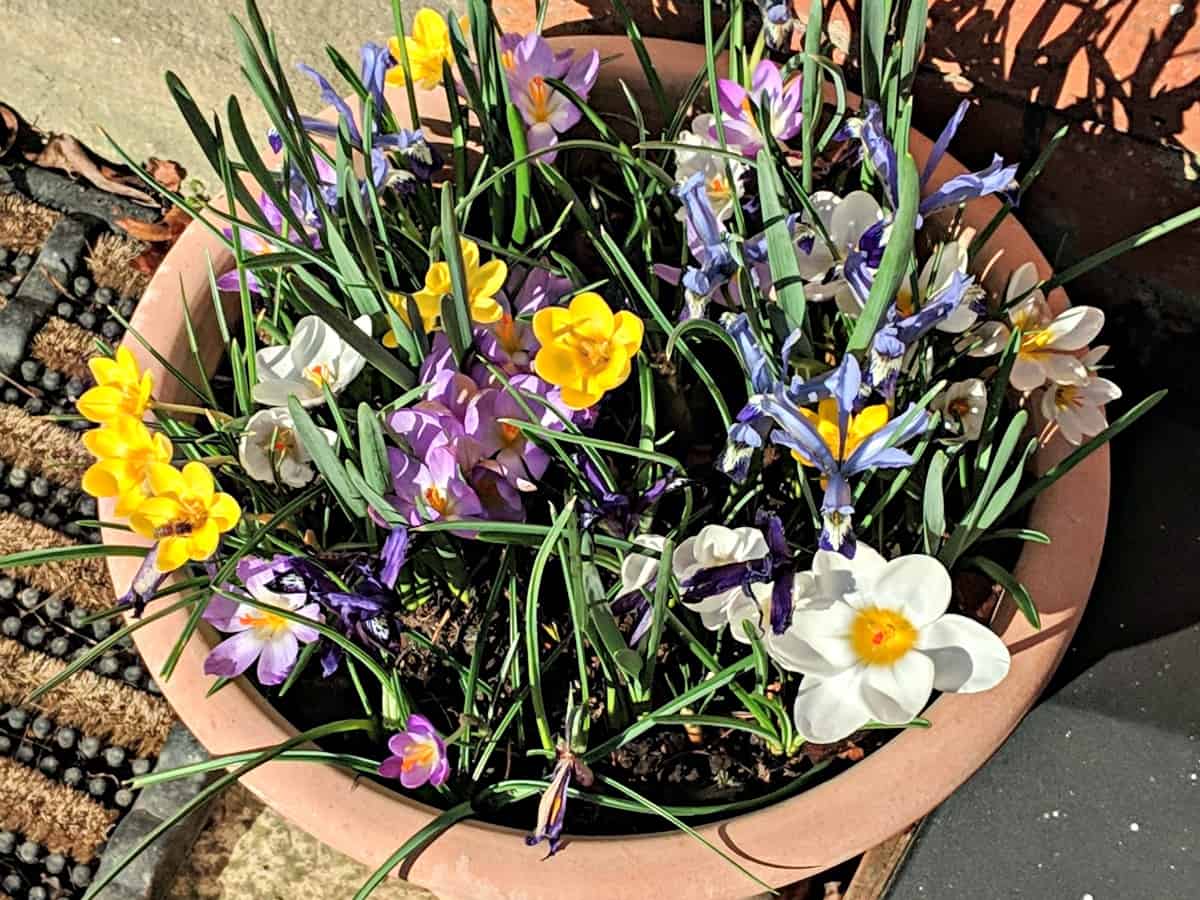
We went for early flowering crocus and dwarf iris bulbs for our top layer. These flower February into March.
Our middle layer is a mix of narcissus and grape hyacinth bulbs which will flower March into April.
And our bottom layer is made up of some beautiful late flowering tulip bulbs which will bloom in May.

How to plant a bulb lasagne.
I recommend measuring the layers of your bulb lasagne on the inside of your pot before you start for two reasons.
Firstly, once you start adding compost, it can be challenging to judge how much you have added. And secondly, it’s also a great way to check how many layers your pot can hold.
Each layer needs to contain 2 inches of compost, and having extra underneath the bottom layer will benefit your spring bulbs.

It is also a good idea to wear gloves when handling flowering bulbs as some of them can cause skin irritation.
As mentioned above, we planted our bulbs closer to each other than commonly recommended. It is essential, however, to ensure your bulbs don’t touch each other or the side of the pot. Otherwise, there is a risk of fungus developing.

Finally, bulbs have a top and bottom, so plant them with the point facing up and the base facing down.
Once you have planted your bulb lasagne give it a good water and if you want to, dress it with some grit to finish it off. You may want to tuck your pots out the way somewhere in readiness for spring as they’re not much to look at in their bare state.

And here is a photo of the first layer of our bulb lasagne coming into bloom.

And the second layer of beautiful narcissus bulbs and grape hyacinths.
For more easy planter and gardening inspiration, please check out our other fun projects. I’ve listed a few of my favourites below.
How to turn Strawberry Planters into Succulent pots.
I repurpose a pair of mouldy old terracotta strawberry planters into two gorgeous succulent pots planted with a mixture of drought loving sedums and Sempervivums.
How to make Wildflower Seed Bombs
Make wildflower seed bombs using flour, seed compost and native wildflower seeds. Perfect for brightening up an unloved corner of your neighbourhood.
How to make Fairy Toadstools for your Garden
In this simple coconut shell craft we make gorgeous fairy toadstools for our garden using non-toxic paint to keep them environmentally friendly.
How to make Birch Bark Covered Flowerpots
DIY Birch bark covered flowerpots are an easy and cheap pot decoration idea which fit perfectly into a rustic home decor theme.


6 comments
After the bulbs flowered in lasagna layers in the pots, can I leave the bulbs in the pots and plant seasonal bedding flowers on top?
Thank you.
Yes you can May. I leave my bulbs in the pots for 2 year then plant them in the garden as I find they don’t do so well after that :)
I want to get all of your newsletters.
I’ve popped your email into the subscription box Carol, so you’ll get an email to check that you really want to subscribe
Just wandering how that works. Due to recommended depth of bulbs, seems like the bottom ones have a long way to travel upwards.
Great question Angela. We are deliberately planting them deeper than is recommended in open ground. This results in the bulbs taking a little longer to grow through the soil than they normally would, helping to delay their flowering slightly which works for this type of display as we want 3 distinct flowerings in the same pot. (As well as choosing early, mid and late flowering bulbs)